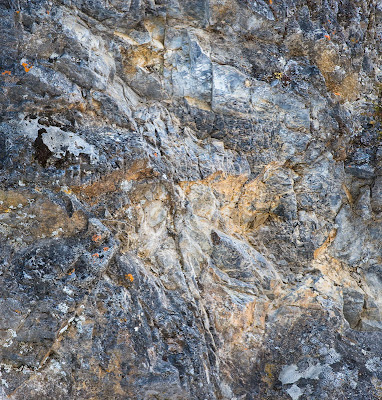
 The image above is one I made a few years ago. For reasons I am unaware of, it caught my eye this morning and I did a search for the original raw file and reprocessed it in Camera Raw 4.1 with subsequent work in Photoshop and then Akvis Enhancer. I faded it a bit then used the history brush to deactivate the effect in the edges of the image.
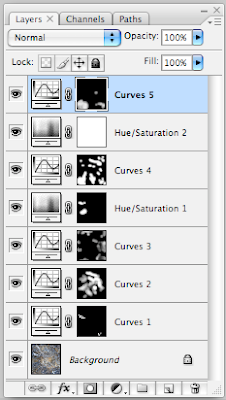
Below you can see the layers used to make the image up to the point of flattening it for application of the enhancer.

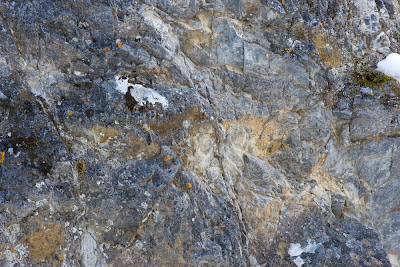
Below is the original image straight from Çamera Raw.


8 comments:
Hi George...I like abstract images like this very much.....I hope you won't mind my asking a technical question. I recently bought Akvis Enhancer and am quite pleased with what it can do (though I wish the preview area were larger).
Having just started using it, it just seemed to me that I should apply it first and then make layer adjustments. Not quite sure why...it is just what I did. I see you have done the opposite; making all your layer adjustments and then applying Enhancer. Just curious if there is a right or wrong sequence to this? Have you tried it the other way?
Good point Howard. Yes, I generally get the overall tonality the way I want it then use Akvis to enhance local contrast throughout the image. I found that you could create a similar effect in the midtones with unsharp mask 25 50 0, but it had not effect on the shadows and highlights, excactly where you'd like some separation.
I absolutely find that you have to do your sharpening before you do Akvis Enhancer but otherwise there's no reason not to do it your way and it makes sense in some ways. There are times when I do it half way through but that's only because I keep fussing with the image. I'll have to try it your way and see which is best.
Interesting...I am so used to using PhotoKit Sharpener just before printing that the one image I have been working on with Akvis Enhancer was sharpened after applying the enhancement. I capture sharpened, applied the Akvis Enhancer, adjusted with layers, then output sharpened and printed. It looked OK to me. What have you found to make you say that sharpening for output needs to be applied first? Sorry to dwell on this, it is just that I am starting to us it for the first time and would like to get it 'right'
As an aside, Akvis says that it works by enhancing local color contrasts...isn't that a form of sharpening as well?
Howard: in fact you are doing the same thing - more or less. I only use photokit for the output sharpen which isn't saved with the image. Initial sharpening has been done with smart sharpen in Photoshop though I am now experimenting with Camera Raw 4.1 to see whether that's better or not. Still, we both do a sharpen before Akvis Enhancer and a final sharpening for printing after.
Hi George, I was wondering if you could explain what you were trying to accomplish with each set of curves and the associated mask? Also, was the work all done in RGB?
I hope you don't find it pretentious, but since you posted the original, I was messing with it a bit myself in CS2. I converted to LAB and used 3 curves: 1 to set white and black points, 1 to correct what (I think) is a blue cast in the image, and 1 to enhance the colors a bit.
(Should have mentioned that I enjoy the image and thanks for the blog as well).
Nick: I too have played with images on the net, as Howard knows only too well, as I did it with one of his. I'd be curious to see what it looks like so feel free to post your version so long as it's clear it's your interp. of my image.
Note the next post has the actual curves and so on with explanations.
And a really nice job you did on that one! Feel free anytime.
Post a Comment