Though many people are delighted with Photokit Sharpener and I continue to use it for output sharpening on all my matte prints, I normally use Smart Sharpen built into Photoshop after doing some preliminary sharpening with Camera Raw's latest updates (4.3?).
Anyway, Dan was mentioning using 'Darken Blend' as a way to control what your sharpening does, suggesting that toning down the white fringes would be a good thing and this rang a bell with me as I had always been bothered by the light colours that get pushed to white when sharpening.
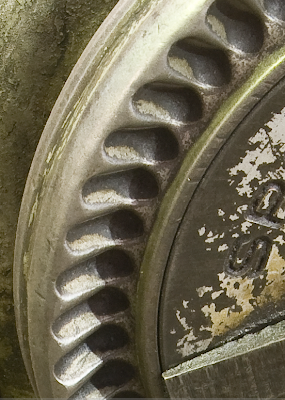
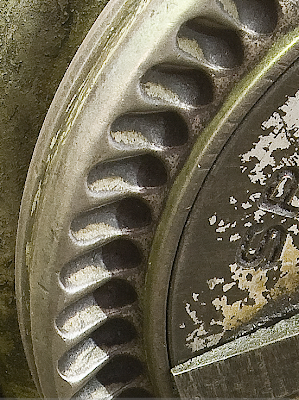
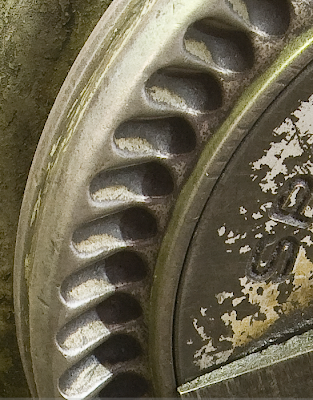
I decided to try a little experiment, which I present below. Here are three 100% sections (if you click on them) from an image, showing the image as output from Camera Raw (using 100, 1.0, 25, 25 as my sharpening settings in Camera Raw). The next image is the normal smart sharpen applied to the whole image, and the third image shows the result of doing the smart sharpen on a separate image layer, then doing a Darken Blend at 50% opacity - that is, the unsharpened image below will show through wherever it is darker than the sharpened image - thus protecting those light tones, all be it only at 50%.
Decide for yourself how you like the result but remember to click on the images to see them at the real 100% in their own windows else you may not see the real difference.


Now, there is a further refinement that he recommends and that is to do your sharpening only to the luminosity but I haven't experimented with that yet.
Now, it's been my philosophy to learn only a handful of tools and virtually no tricks and simply get good at using those tools. 90% of my image editing is done with masked curve adjustment layers and it's worked well most of the time. I can see however, that there are areas where I have been painting difficult masks (because of needing fine control, or because of edge problems) which various Photoshop tricks, like using L.A.B. and 'Blend If' and working with channels and using channels to create masks for image adjustment. These tricks seem to be very powerful - the problem is that none of them works all of the time or even half the time - in order to take advantage of Photoshop Tricks, it seems as though you need perhaps 20 or more tricks up your sleeve and you need to know when each one is suitable to use, and perhaps more importantly, when it can get you into trouble.
Frankly, I'm in photography for the images, not the efficiency (and many of these tricks are mostly about efficiency). I don't want to be a Photoshop Guru.
I think though that what I'm going to have to do is go through the various tricks (ie. I've got some studying to do) and select out those tricks which produce a better image and not bother with those that are simply easier. After all, it's only easier if you can remember it.
Modern physicans tend to use EMR's, that is electronic medical records (ie. computers) for their note taking. Not all doctors can type and some software instead provides templates where you can simply point and click, but often those templates get so complicated it takes considerable time to go through it and select all the options apply to your situation.
I can click on fever, sore throat, runny nose, cough not productive, had it for 5 days, I can click on throat red. Don't forget I have to differentiate between normal findings and didn't actually look - so I have to click on ears normal, neck not swollen, chest clear, doesn't look deathly ill and so on.
Frankly, it's a hell of a lot easier to simply type sore throat 5d, no cough, OE (on exam) throat red, neck not swollen, chest clear and ears fine Tx swab and rx penicillin.
The shortcuts become so complicated that for the majority of users they are not practical. Perhaps if I only ever saw sore throats I could whip through the template really fast and actually save time over doing it the hard way typing, but that's not real life.
So it is with Photoshop, sure there are tricks but they take time to set up and you have to remember them, their keyboard shortcuts, when they are helpful and when not - kinda takes the fun out of the shortcuts.
The ideal is for each of us to use only a handful of easily remembered short cuts that help us make better images, ignoring the dozens if not hundreds of other short cuts, no matter who recommends them or how enthusiastically.
I don't expect to use most of what I learn but I would like to know a handful of tricks and shortcuts that can lead to better images, not just easier ones.
So far, I am impressed that using the darken blend for 'smart sharpen' is a significant improvement in image quality - and if further experimentation with it confirms my initial findings, I'll be using it on a regular basis.


4 comments:
I usually do something similar. Duplicate the image layer, then smart sharpen it. Then duplicate the sharpened layer. Set the top sharpened layer to Lighten and the lower one to Darken. This allows finer control of the sharpened output. I typically have the darken layer at higher opacity by at least 20 or 30%.
I believe smart sharpen now has extra options that do something similar, but I find these new options a bit confusing.
George,
thank you for this excellent blog and I am also enjoying your book, while waiting patiently for your next one.
Here is the place to go for Dan Margulis related techniques:
http://tech.groups.yahoo.com/group/colortheory/
George,
If you haven't already done so, buy yourself a copy of Bruce Fraser's book 'Real World Image Sharpening with Adobe Photoshop CS2'. It explains the principles that operate behind the scenes in PhotoKit Sharpener, as well as encouraging you to cook your own variations. Real food for thought even if you don't use all the methods.
Personally, I prefer an easy life, and prefer to stick to just one or two methods. I don't mind buying Photoshop actions etc from people who have already done the hard work. The benefit of sticking to a limited tool set is that you can obtain real mastery of it, and spend less time on learning curves.
Regards,
Alan
I have been using this method for quite a while now but I sue 2 layers. One set to lighten and the other to darken. The lighten mode tends to be a little less than the darken setting. This allows me to fine tune either the lighter or darker edges.
It is important that the lighten layer is below the darken layer, as it won’t work for me the other way around as the lighten layer which had not darken would negate and darken aeffect.
I have created 3 Photoshop actions for light, std and heavy sharpening. From memory (at work) I set the following
Amount 260% as I over set and then can use opacity to reduce, less effort than redoing to go higher (radius 1)
Light (0.7 to lighten. 0.9 to darken)
Std. (1.1 to lighten, 1.4 Darken)
Heavy (1.7 lighten, 2.2 darken)
Niels Henriksen
Post a Comment