

A few years ago I photographed some driftwood lying along a beach in Waterton Park. I took a number of shots but on going home, none struck me as great material. Almost a year later I rechecked the raw files (as I do occasionally when I haven't shot anything exciting lately) and noticed one image that I thought might work if converted to black and white. I still didn't like it but for some reason persisted and cropped a third of the image away. Starting to look promising - the general shapes were right. Unfortunately the picture had been taken with m y 10D and 70-200 at 200 mm. and the image was quite blurred. In hind site this is due to relying on the smaller f4 L Canon lens to be supported by the camera - not a great idea. I have since purchased a collar for the lens and hang the camera off the back end of the lens - much better. Anyway it was excedingly fuzzy but I persisted and with an application of a lot of sharpening in several goes with several different sharpening routines - unsharp mask, creative sharpen from Photokit, Output sharpen likewise, and some of them more than once, I had a fairly decent 10 X 10 image.
I continued to work on the image, using the techniques I have discussed before and am going into detail in the second and third installments of my articles on OutbackPhoto.com. It was starting to look really promising but it wasn't until I printed it that I really liked it, the image glowed, I really liked it.!
Now its three years later and things have improved. My original image was processed with camera raw version one in 8 bit (Photoshop didn't have 16 bit). It occurred to me recently that I might have another go at working on the image. I feared I'd never get that glow back, but I'd have the original output version, if it didn't work, I'd only be out a bit of time and effort.
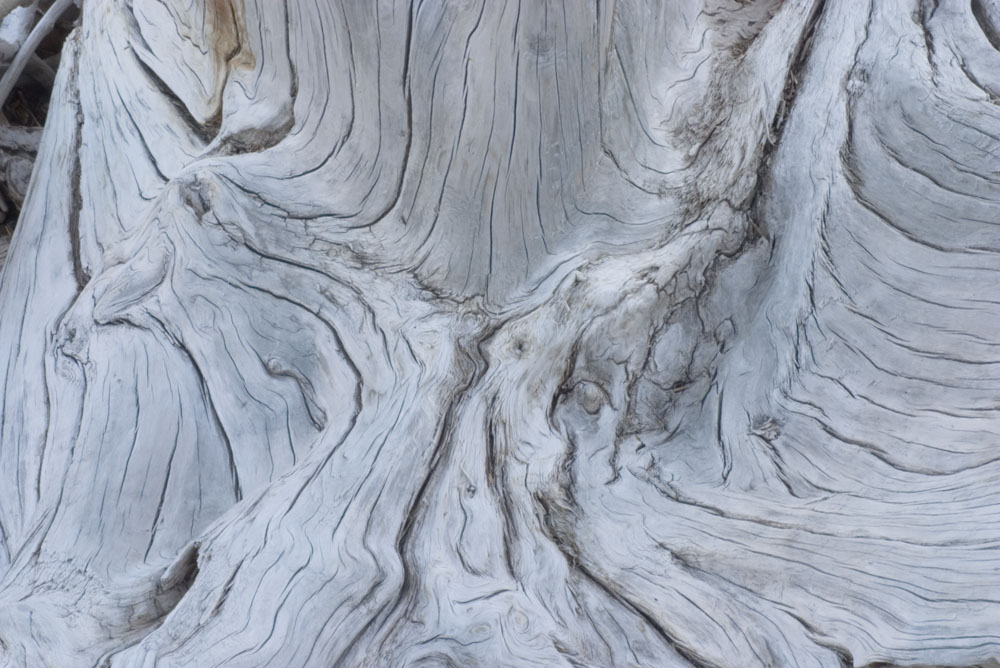
I have to tell you times really have changed. This time I used one size up in the output of camera raw - it was incredibly fuzzy, but you know what - it sharpened quite nicely in smart sharpen with only an appropriate output sharpen. Here you see the latest version along with a 100% crop of the output from camera raw before any adjustments were made, and the whole file with in camera settings.
Lesson one - never throw away your raw files - protect them as well as your printing files. Hmmn...
Lesson two - never be afraid to have another go at something, starting all over, no matter how much time you have invested in the previous effort.
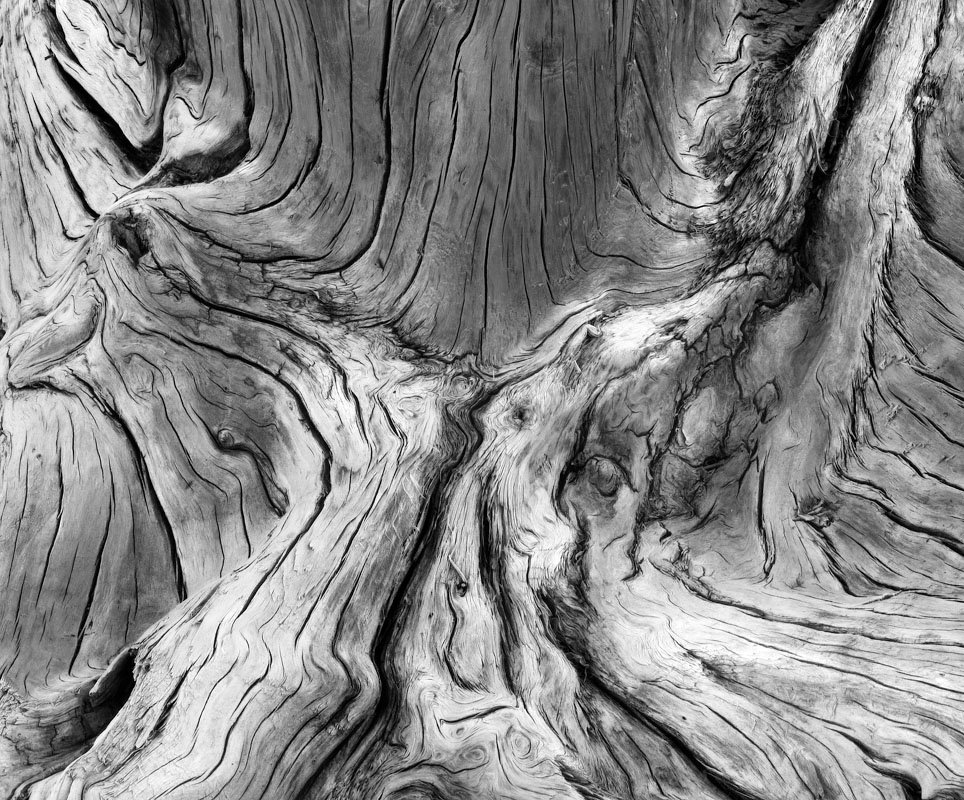
Original Camera Raw Output
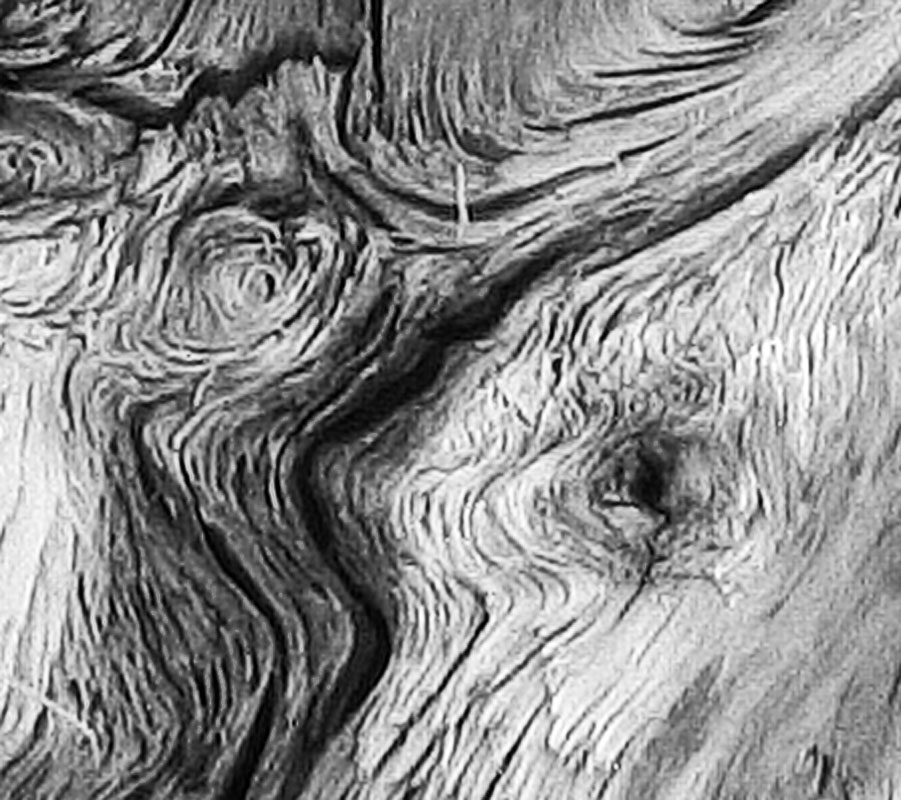
Crop of unsharpened adjusted output of Camera Raw

Sharpened Version Of Final Image - 3200X2700 pixels - a crop from a 10D - print this at 300 dpi to get an idea of resolution
No comments:
Post a Comment