

I thought I might show you some of the steps in making this image.
The first image is the result of Camera Raw, note that it's quite dark in order to preserve the highlights in the doorway.
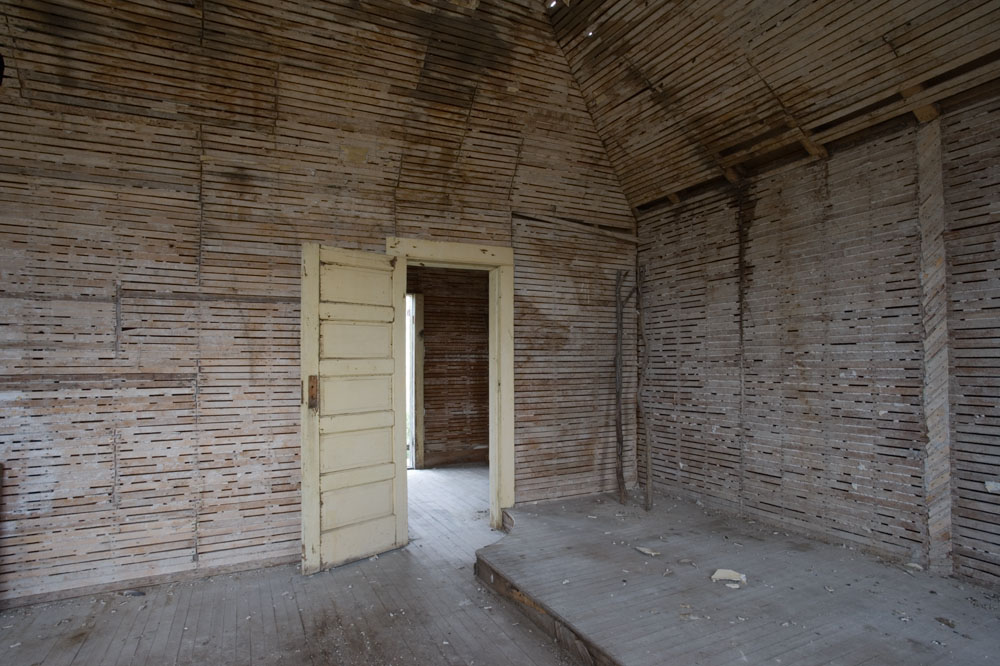
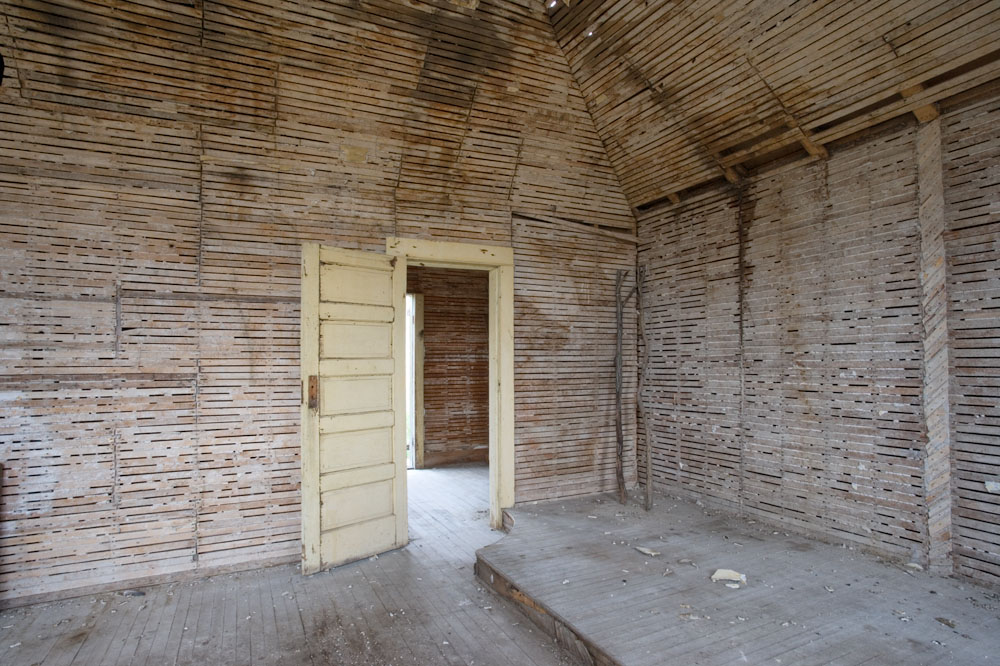
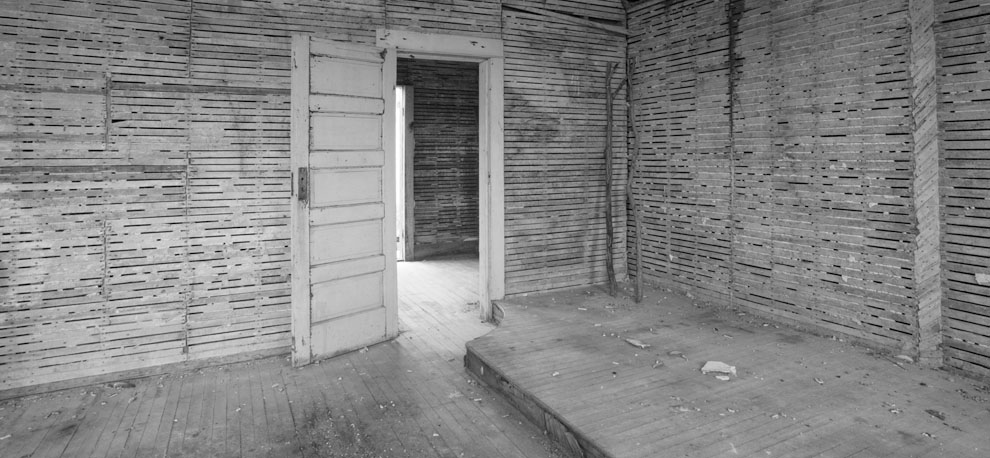
The second image shows the results of Akvis Enhancer. More often I'd make some basic adjustments to the image first then enhance but I was curious to see just how much it could make of this image.
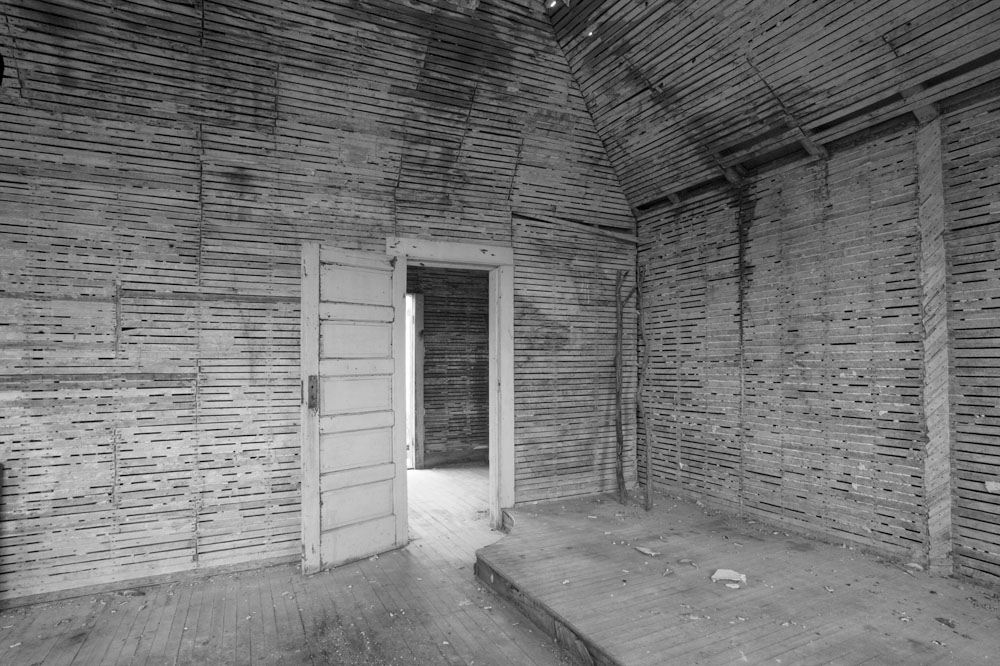
The third image shows a conversion to black and white - given the minimal amount of colour, I simply used a hue/saturation adjustment layer, saturation set to -100 (ie. none)
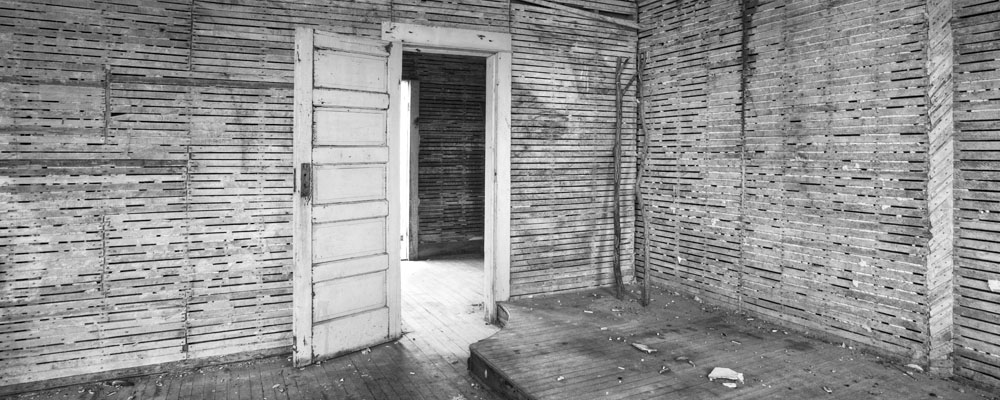
Here the image has been cropped - I felt the rooflines did not add to the composition and I was already seeing this as long and narrow.
I used free transform in Photoshop to correct the tilting right hand side.
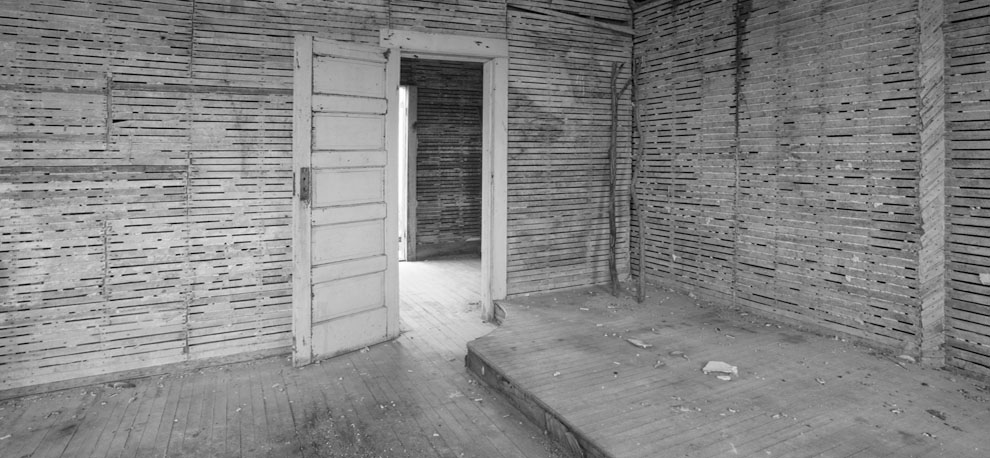
More cropping and I lost some of the foreground floor so the floor lines would meet in the corner - I'm still not 100% sure that I did the right thing, but I think I did - time will tell.

I lightened the image with several ajustment curves, some increasing contrast, others just lightening. I also did some darkening on the floor.

For final adjustments I duplicated the image in a second layer and applied burn and dodge as needed. Dodging was all done with 'dodge highlights' which is the equivalent of bleaching. Burning was mostly done with 'burn shadows' but there was also a little bit of 'burn midtones'

As this is a recreation of what I did, you will see some minor differences between the bottom and top images, but it gives you the idea of the steps I went through.

No comments:
Post a Comment